Choose your country of delivery to see prices and products for your location.
Do you want a different net shape?
z. For example, a net with a cut-out for a ladder or a chimney? No problem!
Please simply send us a sketch with the dimensions of the area to be filled to info@netze-seile-mehr.de and we will be happy to send you an offer.
This allows you to easily add plans or images of your project directly to your order.
Please enter the clear dimension for the net size. We will calculate the correct net size for the selected fastening.
A surcharge of 60.00 euros will be added to the price of a triangle.
Items marked with * must be completed
Choose tax zone / country of delivery
We charge the following flat rate for small quantities: - an additional EUR 20 will be charged for orders of less than 5 square metres. - an additional EUR 15 will be charged for orders of less than 10 square metres.
Any minimum quantity charge is automatically included in the final Price.
Please enter the clear dimensions for the net size. We will then calculate the correct net size to match the selected fastening.
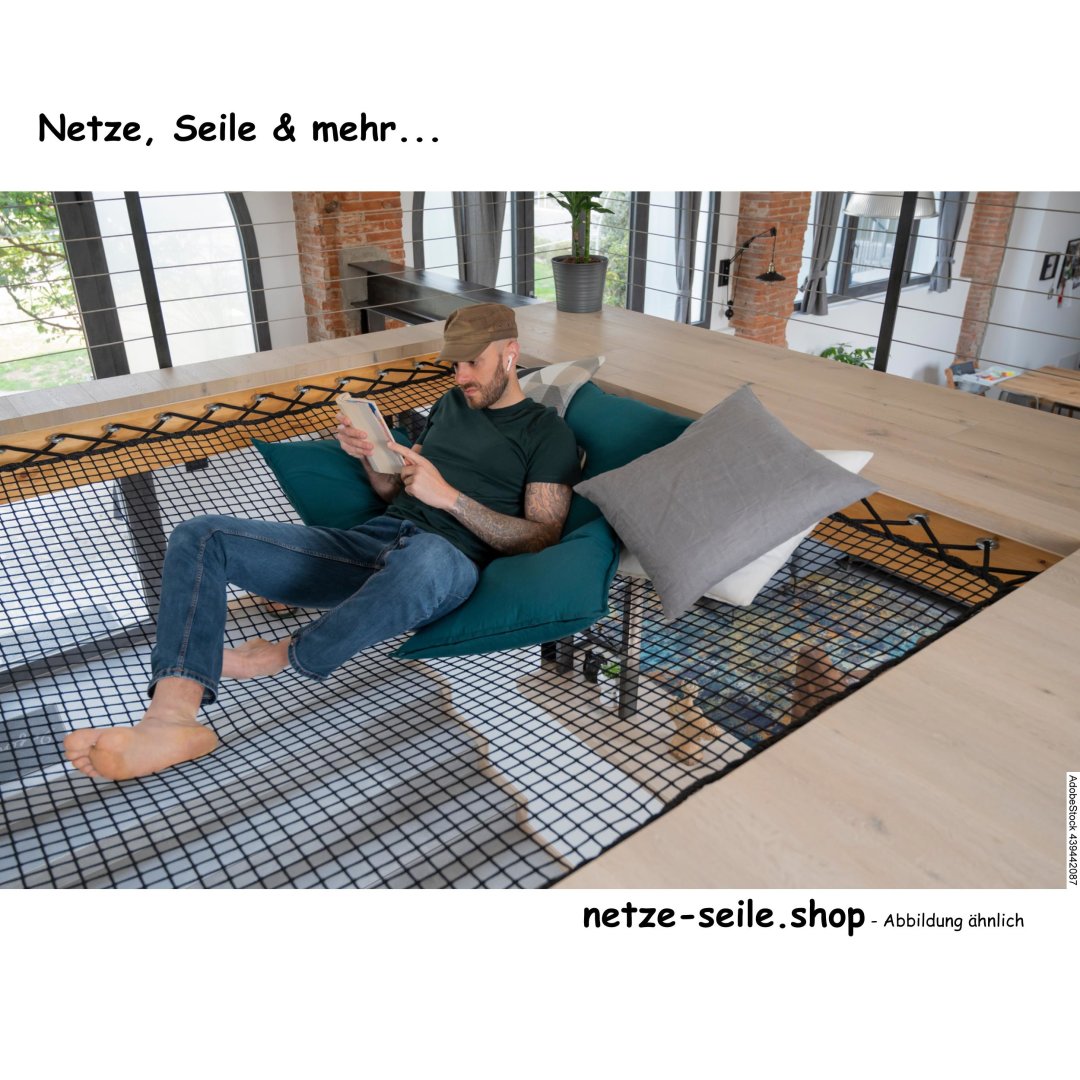
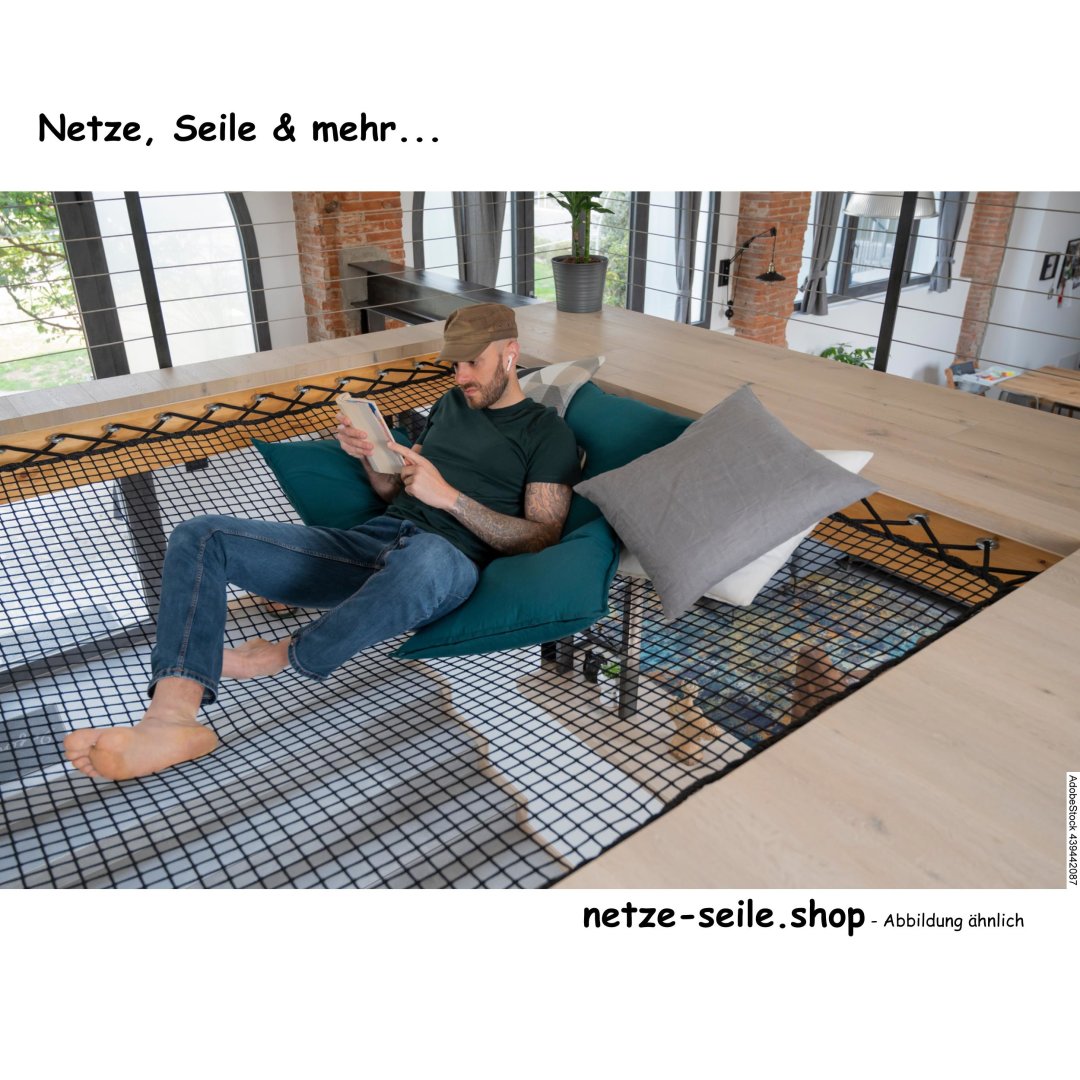
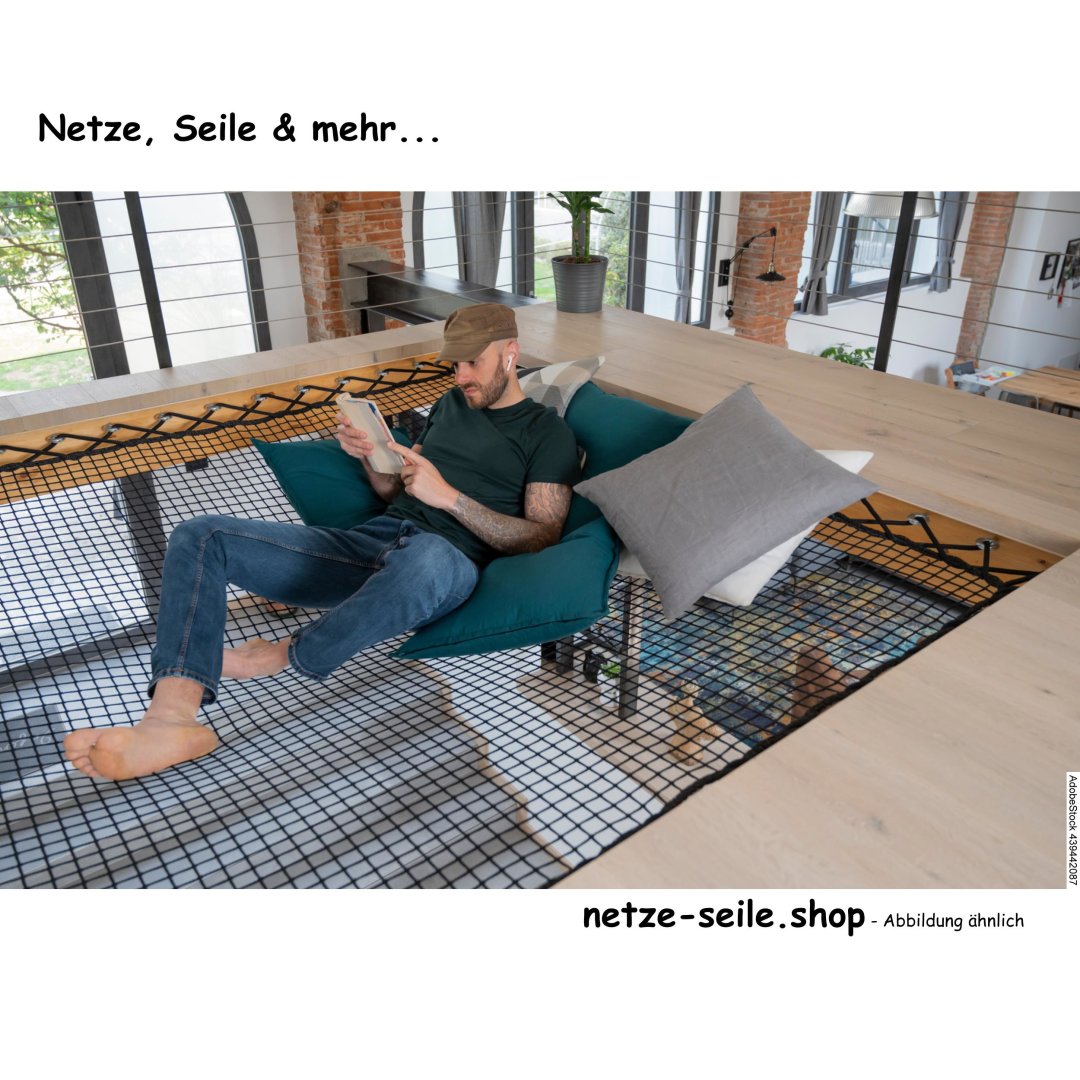
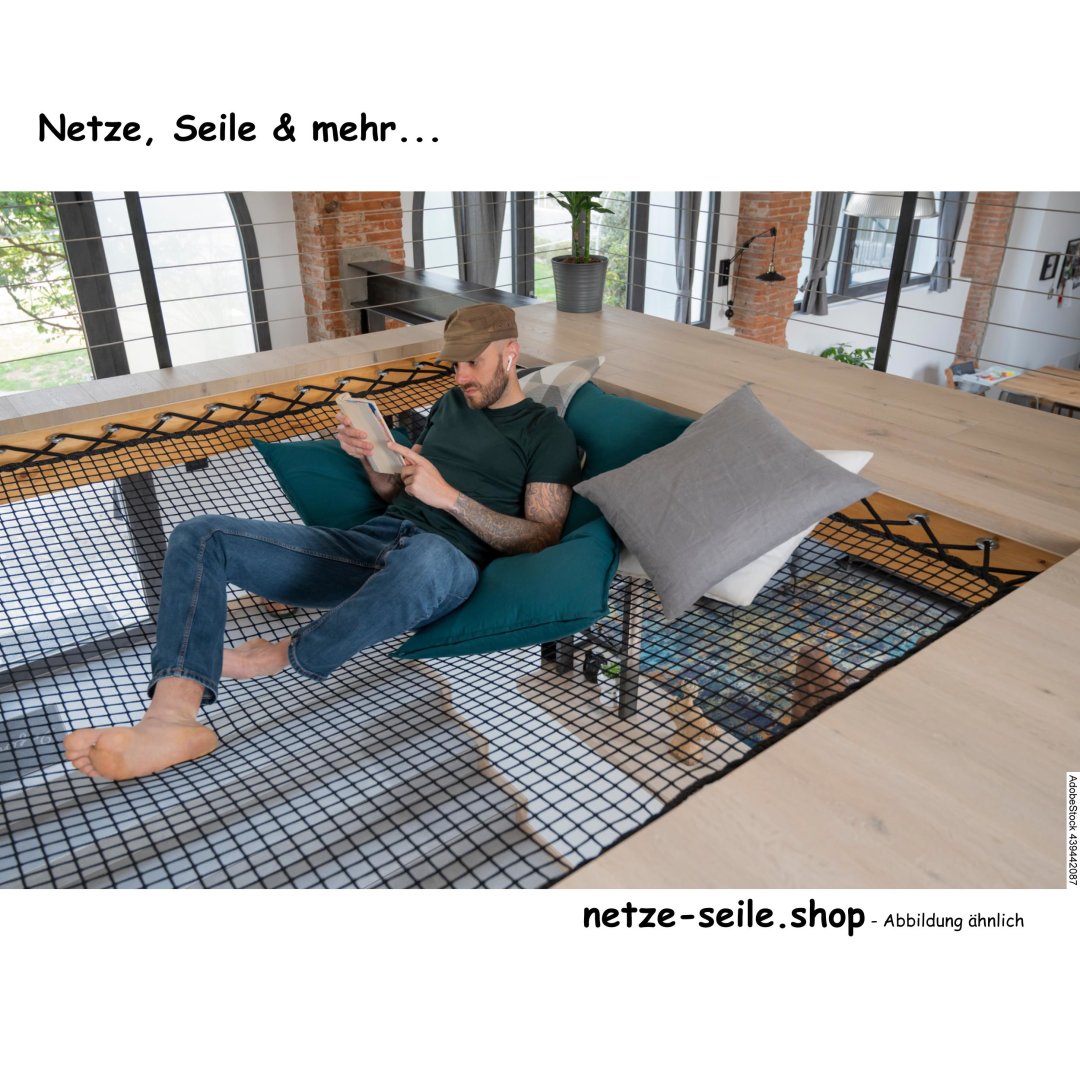
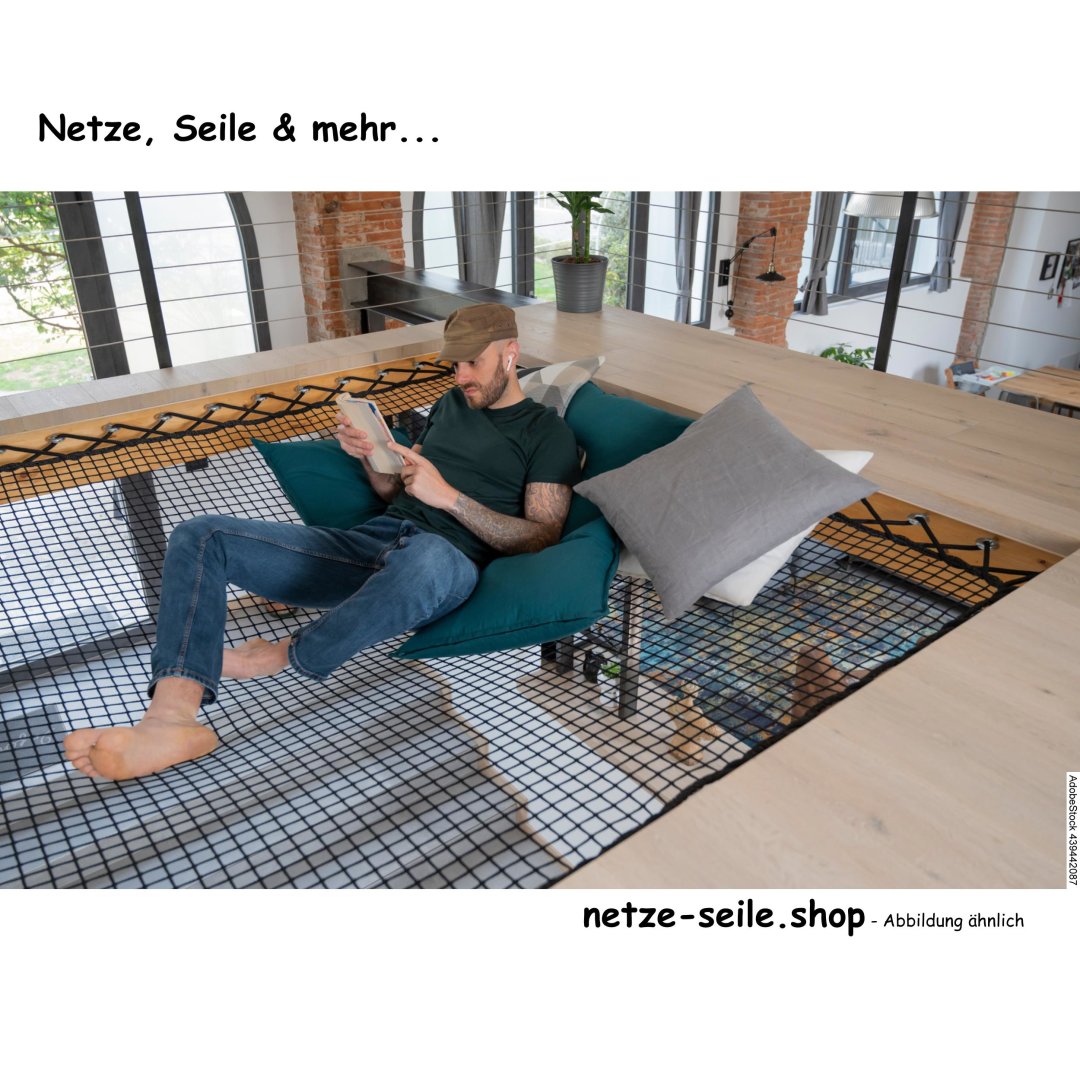
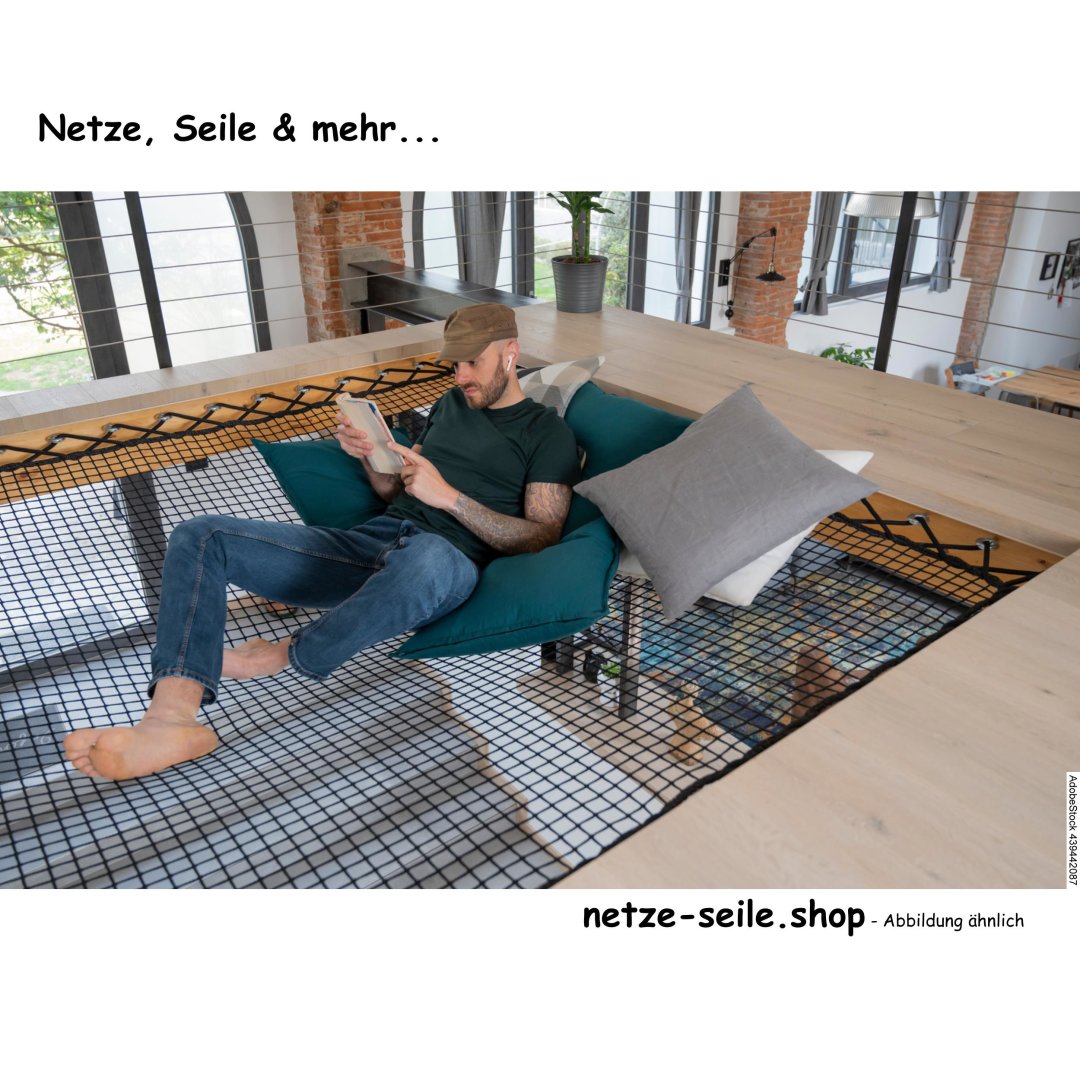
Experience relaxation on a new "level" with our exclusive lounger net!
These robust nets are the perfect companion for moments of rest, reading and pure relaxation. At the same time, it offers a unique opportunity to relax in floating lightness.
Our nets are characterized by their structure. Our nets have good surface stability, but are subject to a certain amount of stretching due to their material properties, without losing strength.
Thanks to this unique property, our nets can be easily tensioned in wooden frames, between beams or masonry without losing strength. Equipped with an extra strong edge binding, the net remains dimensionally stable and resilient.
Please enter the clear dimensions for the net size. We will then calculate the correct net size for the selected fastening.
The clear dimension describes the distance between beams, walls, window openings and other cavities.
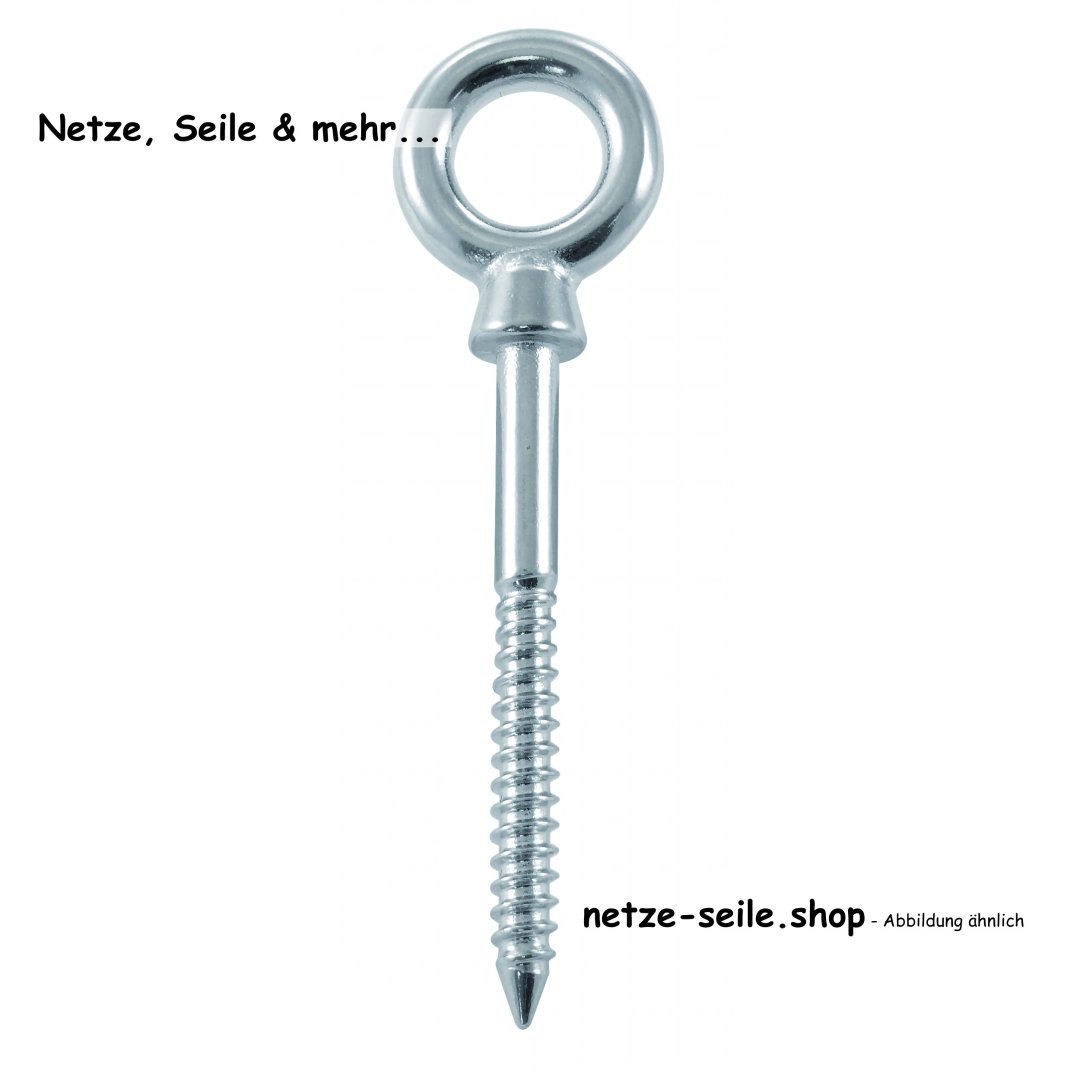
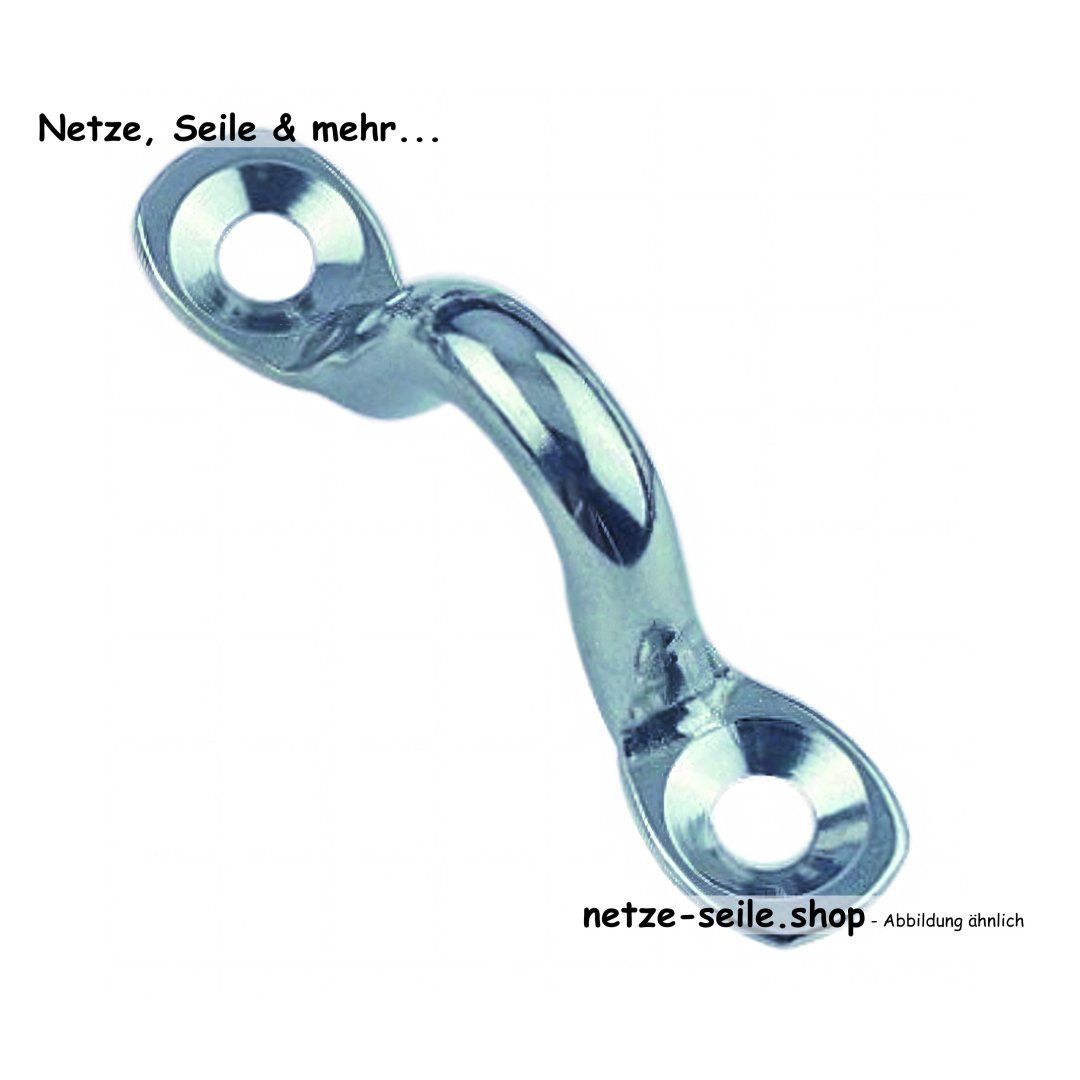
Eyebolts, eyebolts etc. can be used for the fixings, which you can find under accessories.
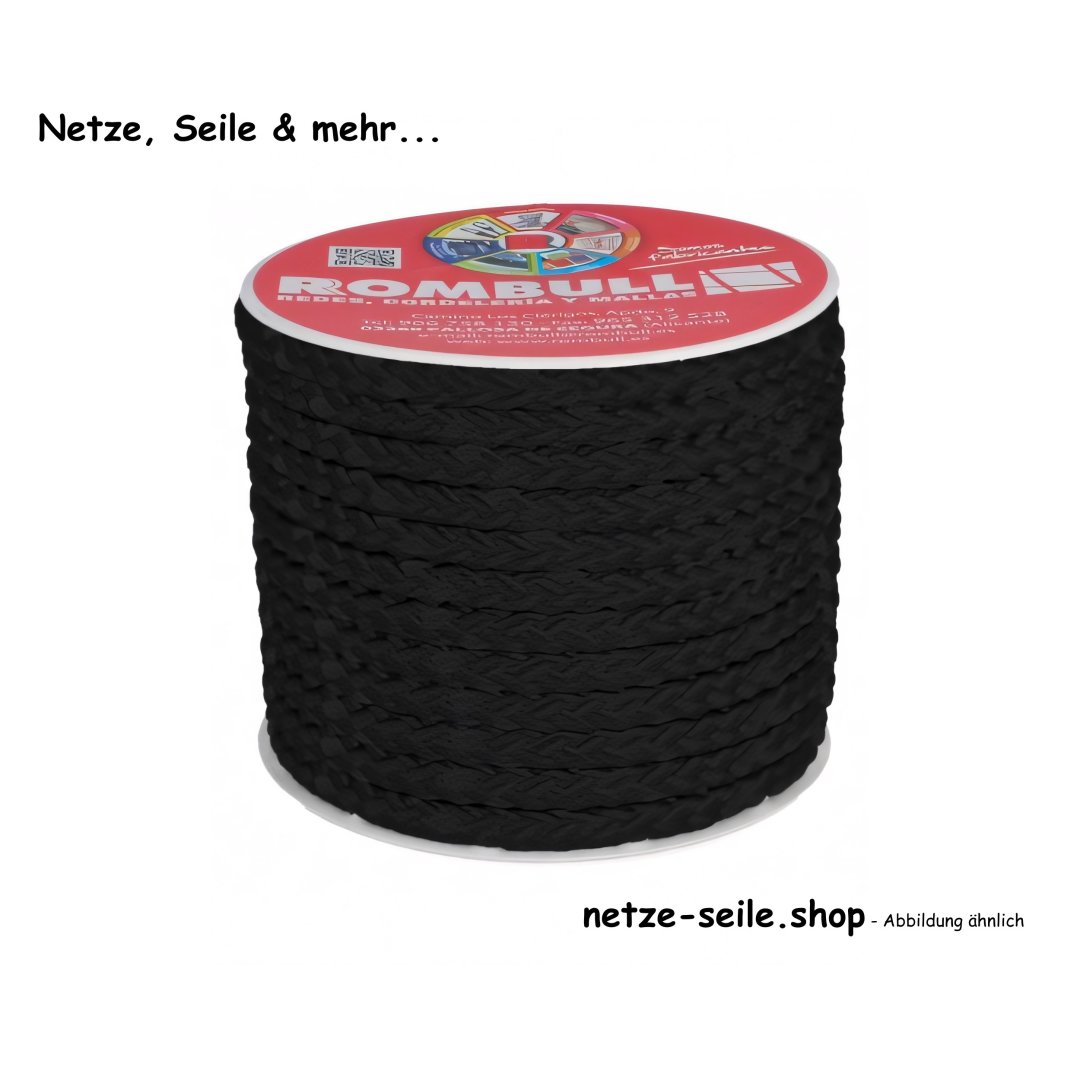
You will also find suitable tensioning cables there.
Whether indoors or outdoors - this net gives you the freedom to redefine your favorite spot.
Would you like to integrate an entrance into the net? No problem! On request, we can produce an individual cut-out for easy access.
Of course, we also offer customized solutions to meet your personal needs and space requirements, because your comfort is important to us.
Nets in other shapes are also possible, whether as a square, rectangle, circle, triangle, trapezoid or polygon.
Make no compromises - treat yourself to the luxury of our high-quality nets and experience a new dimension of relaxation!
Use a pencil or similar to mark the fastening points at even intervals of approx. every 18 cm. Make sure that there is an odd number, as this is necessary for the later course of the two tensioning ropes.
For an exact position and easy screwing in of the eyebolts, it is advisable to pre-drill with a Ø 3 / 4 mm drill. This is also advisable to prevent the wood from splitting
Now you can screw in the eyebolts all round. To do this, only tap them lightly into the pre-drilled holes up to the first thread. You can now use a screwdriver to screw in the eyebolts further.
Now hang the net loosely in the corners using the cable ties
The tensioning rope is usually in one piece, but 2 ropes of the same length are required, so separate them in the middle, tape the ends or seal them with a lighter.
Attach the first rope to an eyebolt with a bowline or simple knot and from there lead it diagonally through the edge mesh of the net, which is opposite the next eyebolt. From there it goes through the next eyebolt. With the first rope, the second eyebolt always remains free and the rope runs through the eyebolts in the respective corners.
When you get back to the beginning, pull the rope slightly taut and knot it lightly to the beginning.
The second rope, shown here in red, is now also attached to a free eyebolt and pulled through the edge stitch and free eyebolts as with the first rope. In the corners, the rope runs through the corner stitches, see detailed drawing
To be able to pull the net into the corners and prevent the rope from slipping, the course of the rope is shown here in detail.
The net can now be tensioned by tightening the ropes one after the other and knotting them at the end. After the first load, it is advisable to re-tension the net, as the net material and the way it is made will cause stretching. This stretch varies depending on the load and net selection.
There are no reviews yet.